
Summer nights call for something special. Backyard movie screenings have become the go-to family activity that brings everyone together under the stars.
But here’s the problem: commercial outdoor screens often cost $200-500 and break after one windy evening. I learned this the hard way when my store-bought screen ripped during our first movie night.
That’s why I spent months testing different DIY methods with my family. We built three different screens using materials from local hardware stores. Each one cost under $100 and lasted multiple seasons.
This guide covers three proven construction methods with exact materials, costs, and assembly tricks that work. Your summer movie nights deserve better than flimsy store-bought screens.
Method 1 – Tarp and Drop Cloth Construction
This weatherproof method uses a tarp and drop cloth bonded with construction adhesive for a permanent, durable screen that handles outdoor conditions better than fabric alternatives.
1. Material Requirements
You’ll need several specific items for this construction method. Start with an outdoor tarp that has grommets around the edges. The canvas drop cloth becomes your actual projection surface.
Construction adhesive bonds these pieces together permanently. A wooden dowel provides top support and hanging strength.
Installation requires large hooks for mounting, eye hooks for bottom tension, and bungee cords for securing.
The tools needed include a caulk gun for adhesive, a drill for mounting holes, heavy-duty scissors for cutting, and a needle with thread for reinforcement stitching.
Everything costs less than $75, depending on the tarp size. Quality materials make this method last several seasons.
2. Assembly Technique
Start by clearing a large work area where you can spread everything out completely. Lay your tarp with the inside surface facing up and smooth out all wrinkles carefully.
Position the drop cloth on top using the silver outline as your guide. Keep it straight and centered between the grommets. Load construction adhesive into your caulk gun.
Lift one side of the drop cloth and apply adhesive evenly to the exposed tarp surface. Press the drop cloth down and smooth out air bubbles. Continue gluing the rest in sections until everything adheres properly.
Measure your desired length from the bottom and mark your cut line. Use heavy-duty scissors to trim to size.
3. Installation and Support System

Creating a proper support system ensures your screen stays stable during use. Apply construction adhesive about 4-5 inches down from your cut edge.
Lay the wooden dowel above the glue line and fold the screen edge over it. Press firmly to create a strong bond. Hand-sew along the glued edge for extra security that prevents tearing.
Add waterproof sealant tape to protect your stitches from weather damage. Install two top hooks far enough apart for secure screen support.
Place eye hooks below on each side where the screen will hang. Insert bungee cords through the tarp grommets and hook them to the eye hooks. This creates proper tension that eliminates wrinkles and sag.
4. Storage and Weather Protection
Proper storage extends your screen’s life significantly. Roll from the top with the tarp side facing outward to protect the projection surface.
Use waterproof tape to secure the roll and prevent unrolling. Store the rolled screen flat rather than standing it upright to prevent warping over time. The best feature is the outdoor storage capability.
You can leave it rolled up in the hanging position all season because it remains completely weatherproof. Rain and sun won’t damage the materials. This convenience makes setup faster since you don’t need to carry anything from storage.
Just unroll and hook the bottom tension cords. The tarp backing protects everything underneath from moisture damage.
Method 2 – Advanced PVC Framework Design
This advanced PVC framework with back braces and ground stakes creates the most stable DIY screen that withstands wind and active use better than any other method.
1. Comprehensive Materials List

This advanced design requires more components than simpler methods. Eight pieces of 1-inch PVC in 10-foot lengths form your main structure.
You’ll need six 1-inch 90-degree tees for corner connections. Six slip T-connectors come in 4-packs, so buy two packages. Add two 1-inch PVC caps and four 1-inch 90-degree elbows to complete the framework.
Eight-inch ground stakes provide anchoring power that keeps everything stable. The 1-inch pipe costs less than a 1½-inch pipe but offers plenty of strength for this application.
Total materials cost about $60-70, depending on current prices. Buy everything from one store to ensure all fittings match properly. Quality connectors prevent loose joints that cause wobbling.
2. Cutting Specifications and Assembly
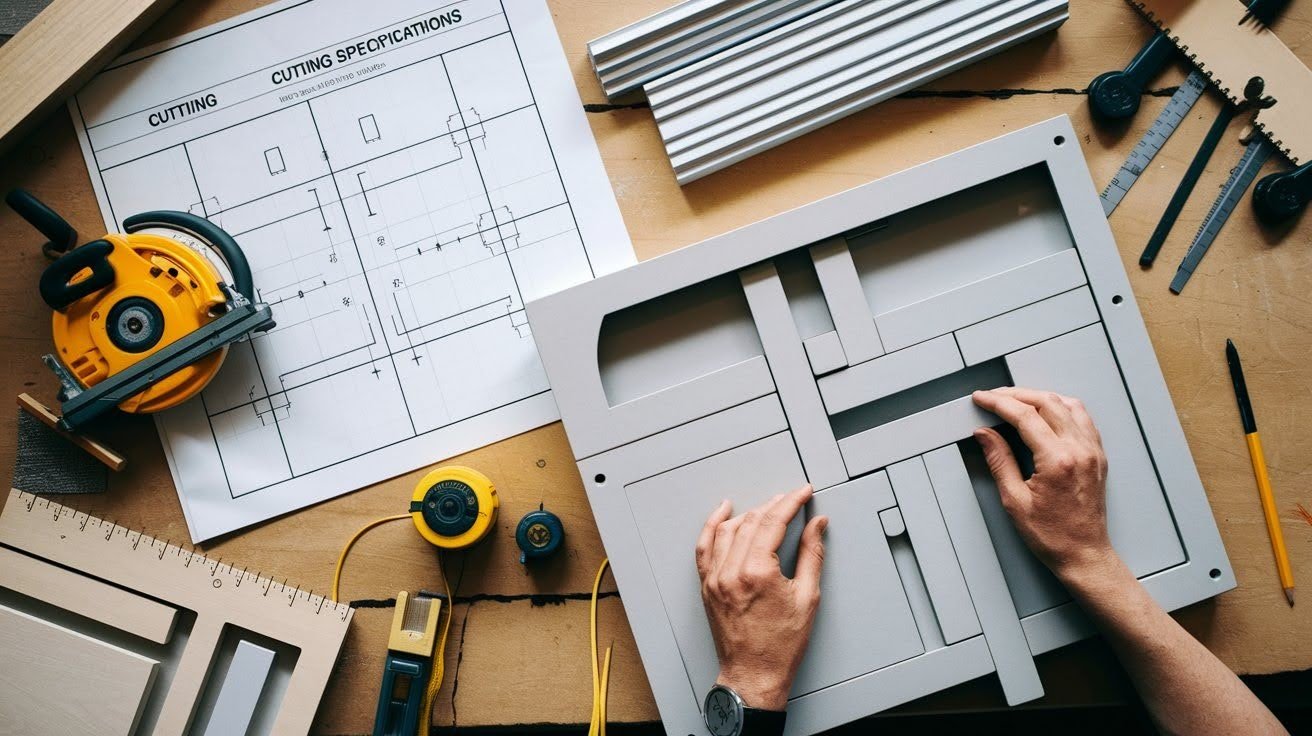
Each 10-foot pipe gets cut into specific lengths for this design. You’ll have scrap material left over, but that’s normal for this method. Start assembly with the main frame structure using precise measurements.
The slip tees slide on the top 90-inch PVC and move freely during initial assembly. This feature makes construction easier than fixed connections.
Add the back brace system that connects to the rear 20-inch support pieces. Thread remaining slip tees onto the back 90-inch PVC for proper brace attachment.
Drill 7-8 holes in the base frame using a 3/8 or 7/16-inch bit. Holes should be slightly larger than ground stakes for easy insertion into the soil.
3. Screen Options and Attachment
This framework accepts multiple screen types depending on your preferences and budget. The traditional bed sheet method works perfectly with this sturdy frame.
Cut a thrifted white sheet in half horizontally and layer the pieces. Measure your frame width and mark the sheet accordingly. Sew the left and right sides to create a large tube.
Turn inside-out to hide seams and slide over the frame before attaching back braces. Commercial projector screens fit these frame dimensions perfectly in many cases.
Use velcro straps to secure them tightly. Seasonal assembly and disassembly take about 30 minutes once you learn the process. Leave the PVC frame outside during movie season and store it when cold weather arrives.
Installation and Setup Guidelines
Proper site selection with level ground, wind protection, and adequate power access determines whether your DIY screen setup succeeds or fails.
1. Site Selection Criteria
Level ground provides the foundation for stable screen operation. Uneven surfaces make everything wobble and create safety hazards for children.
Find the flattest area in your yard before starting construction. Space requirements include screen area plus viewing distance. Plan for at least 15 feet between the screen and the closest seating.
Power source accessibility limits projector placement unless you use battery models. Extension cords create trip hazards that need careful management.
Wind protection significantly improves the viewing experience. Use existing fences, trees, or buildings as natural windbreaks. Avoid completely open areas where strong winds constantly blow.
Neighbor considerations matter if your movies create noise or light issues. Ground moisture affects equipment placement and electrical safety concerns.
2. Stability and Safety Measures
Ground stakes provide the primary stability for most DIY screen designs. Push them through drilled holes into soft ground to prevent tipping during wind gusts.
Metal stakes work better than plastic versions that break under stress. Wind strategies include taking screens down during severe weather warnings. Even properly anchored screens can suffer damage in storms.
Check all connections before each use to ensure nothing has loosened since the last time. Loose parts create safety hazards that can injure children or damage equipment. Electrical safety requires ground fault protection when using extension cords outdoors.
Keep all connections elevated above ground moisture levels. Adult supervision prevents accidents when excited kids run around during setup. Emergency procedures help when unexpected weather arrives during movies.
3. Seasonal Setup and Storage

Quick assembly techniques develop with practice and experience. You’ll get much faster after building the same screen several times. Keep assembly instructions handy for the first few setups until you memorize the process.
Weather protection extends equipment life significantly when you take proper precautions. Bring screens inside during storms, even if frames can stay outside safely.
Storage space requirements vary depending on your chosen design method. Screens fold compactly, but frames need garage or basement space during the off-season. Monthly maintenance checks prevent small problems from becoming big failures.
Tighten loose connections immediately rather than waiting for complete failure. Cleaning schedules keep materials looking good and performing properly throughout the season.
Conclusion
Building your own DIY outdoor projector screen doesn’t have to be complicated or expensive. These three proven methods give you options for every budget and skill level, from the simple $53 bed sheet design to the advanced PVC framework.
You now have everything needed to create memorable backyard movie nights without spending hundreds on flimsy commercial screens. Pick the method that fits your family’s needs and start building this weekend.
Your summer evenings will improve once you experience movies under the stars with your custom-built screen. These designs have worked for countless families and will work for yours, too.
Ready to get started? Share which method you’re planning to try in the comments below. I’d love to hear about your movie night adventures.
Frequently Asked Questions
How much does a DIY outdoor projector screen cost to build?
A basic PVC frame with a bed sheet screen costs around $53 in materials. The tarp method runs about $60-75, while the advanced PVC framework costs $60-70. All options cost significantly less than commercial screens that range from $200-500.
What’s the best material for a homemade projector screen?
King-sized flat white sheets work best for beginners, offering good value and image quality. For durability, canvas drop cloths handle the weather better. Avoid colored materials as they affect image brightness and color accuracy.
How long does it take to build a DIY outdoor movie screen?
The PVC and bed sheet method takes about 1 hour once you have the materials cut. The tarp construction requires 2 hours, including adhesive drying time. The advanced framework takes longer initially,y but assembles quickly after practice.
Can DIY outdoor screens withstand wind and weather?
Yes, with proper anchoring. Use ground stakes through drilled holes and choose heavier materials for wind resistance. The tarp method offers the best weather protection, while PVC frames should be stored during severe weather.
What size projector works best with these DIY screens?
Mini projectors under $100 work well for backyard use, including QKK Mini ($90) and DR. J ($80) models. Focus on brightness over resolution for outdoor viewing. Plan movie nights after sunset for the best image quality.